| Spec | ProMark | Indiemark 3 | Indiemark 2 |
|---|---|---|---|
| Connection | Screw Locking USB-C | Clamped USB-C | Clamped USB-C |
| Resolution | 8000 Counts Per Rev | 4000 Counts Per Rev | 2000 Counts Per Rev |
| Size (w/clamp and gear) | 51x74x29mm | 48x77x30mm | 60x105x31mm |
While there are differences between the lens encoders physically, the broad steps are the same:
There are multiple options for what you can plug the encoders into, overviewed below.
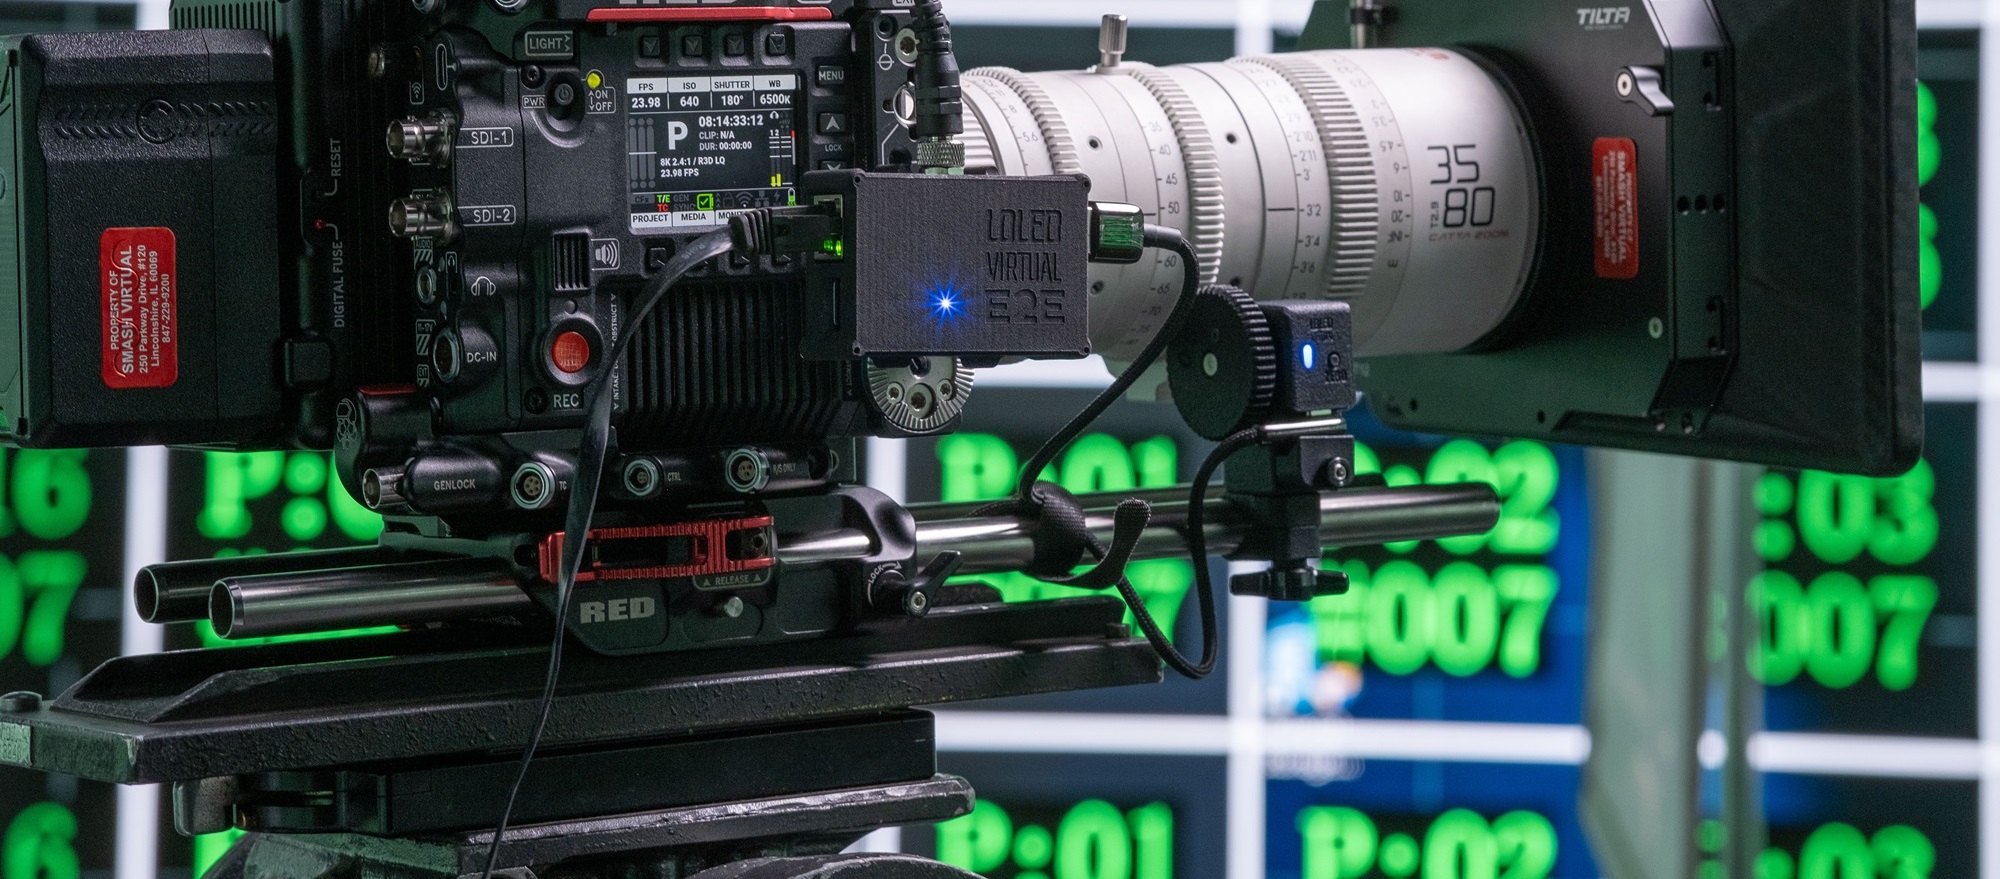
The process to setup a LOLED lens encoder will be different depending on your particular chosen hardware and workflow. There are two options--direct USB, or E2E converter boxes.

Indiemark lens encoders can be plugged directly into a computer with a USB cable. Multiple encoders can be connected via USB Hub. This provides a quick and cheap way for small studios to get up and running, or to do small scale testing.
When using USB, the LONET Server software is used to connect, manage, and output encoder data. LONET Server 3 can also be used to connect directly to Arri, RED, and Blackmagic cinema cameras with a CineLink subscription.